Server Connection Issues Resolved: Best Settings To Push Rank And Secure Booyahs
The Servers Are Live: Return to the Battleground
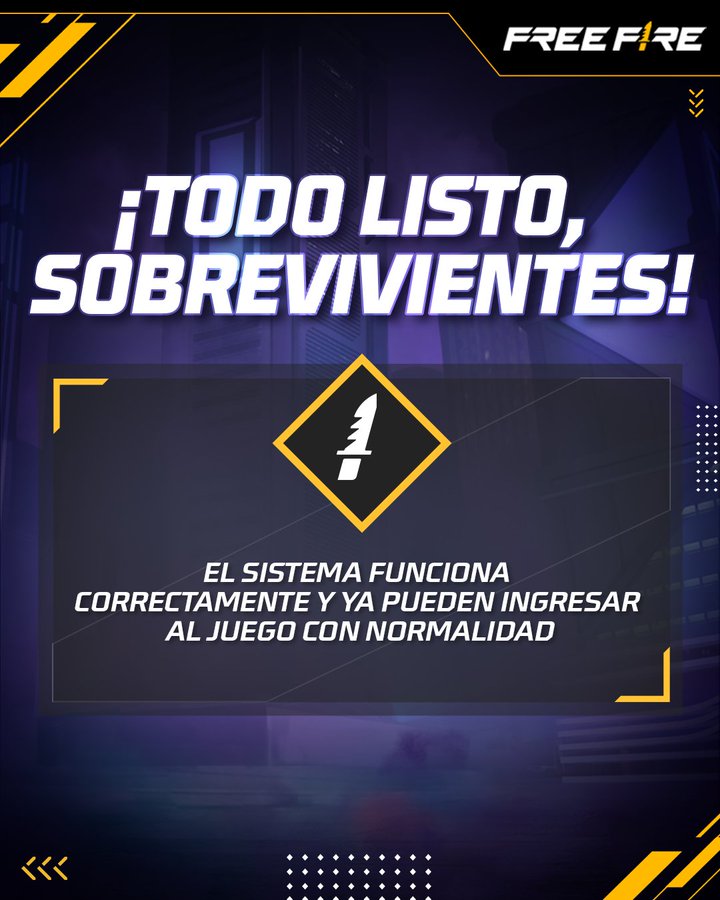
Attention, Survivors! The red signal has finally turned green. If you have been staring at the "Network Connection Error" screen or getting stuck on the loading page, breathe a sigh of relief. The official announcement has dropped: "The game is working normally, and connection issues have been resolved."

For the casual player, this is just a notification. But for us, the rank pushers and the aspiring pros, downtime is lost opportunity. Every hour the server is down is an hour our competitors are not earning Ranked Points (RP). Now that the gates to Bermuda and Alpine are open again, the rush is on. The lobbies will be flooded with players eager to make up for lost time, leading to some of the most aggressive and chaotic matches of the season.
In this comprehensive guide, we will ensure you are technically and tactically ready to jump back in. We will cover the essential post-maintenance optimization steps to ensure your ping stays low, analyze the current meta to help you dominate the influx of returning players, and provide a roadmap to maximize your account's economy now that the store is accessible again.
Phase 1: Post-Outage Technical Optimization
Even though the developers have fixed the server-side issues, your local client might still hold onto residual "cache" data that can cause micro-stutters or lag. Before you queue for a Ranked Match, perform this "Pre-Flight Checklist":
Clear Cache: Go to your device settings, find #FreeFire, and clear the cache (NOT the data). This removes temporary files that might have been corrupted during the connection instability.
Download Center Check: Sometimes, connection fixes require a small patch. Ensure your "Costume Expansion Pack" and "Map Resources" are fully downloaded. Playing with incomplete resources can cause invisible walls or enemies with missing textures, which is a death sentence in high-elo play.
Ping Test: Do not jump straight into Ranked. Play one round of "Lone Wolf" or "Training Grounds." Check your ping stability. If it fluctuates between 20ms and 150ms, your connection to the new server route might be unstable. Restart your router or toggle Airplane Mode to reset your IP.
Phase 2: The "Revenge" Meta Strategy
When servers come back online, the meta shifts temporarily. Players are impatient. They want kills, and they want them now. You will see more "Hot Drops" (Clock Tower, Peak, Blue Zone) than usual.
How to Exploit the Chaos:
The Anti-Hot Drop: Instead of landing Peak, land in a Tier 2 location like Sentosa or Rim Nam Village. Let the aggressive players wipe each other out in the first 3 minutes. By the time you rotate in with full loot and Level 3 vests, 50% of the lobby will be dead, securing you easy placement points.
Weapon Choice: In chaotic post-update lobbies, Close Quarter Combat (CQC) reigns supreme. Prioritize the UMP or the MP40. These SMGs offer forgiveness. If you miss a shot due to a slight server hiccup, the high rate of fire compensates. The M1887 (Double Barrel) is high risk right now; if the server desyncs your first shot, you are dead before you can reload.
Phase 3: Perfecting Your Mechanics
With the connection stable, it is time to focus on the mechanics that separate the Survivors from the Legends: The One-Tap Headshot and Gloo Wall placement.
The "J-Hook" Drag Technique
The most efficient way to secure kills in #GarenaFreeFire is the drag headshot.
Placement: Keep your crosshair white (not red) and position it slightly to the left or right of the enemy's chest level.
The Motion: Tap the fire button and swiftly drag it in a "J" shape towards the enemy's head.
Why it works: The initial sideways movement breaks the body-lock aim assist, and the upward flick snaps the crosshair to the head hitbox. Practice this in Training Grounds for 10 minutes before every session.
The "360 Gloo Wall" Defense
Now that the lag is gone, your Gloo Wall placement should be instant.
Sensitivity: Set your "General" sensitivity to 100.
Execution: When shot, tap the Gloo button -> Crouch -> Drag the fire button in a semi-circle around you. This creates a curved wall that protects your front and flanks, preventing enemies from shooting you from side angles.
Phase 4: Economic Recovery and Smart Spending
Downtime often means missing out on limited-time "Flash Sales" or claiming daily membership rewards. Now that the store is open, you might be tempted to rage-spend to catch up on the events you missed. Maybe there is a new Evo Gun token crate or a Mystery Shop bundle that is about to expire.
However, playing catch-up can be expensive. If you are rushing to top up your account to secure these items, stop and think. Do not pay the full "panic price" on the app store.
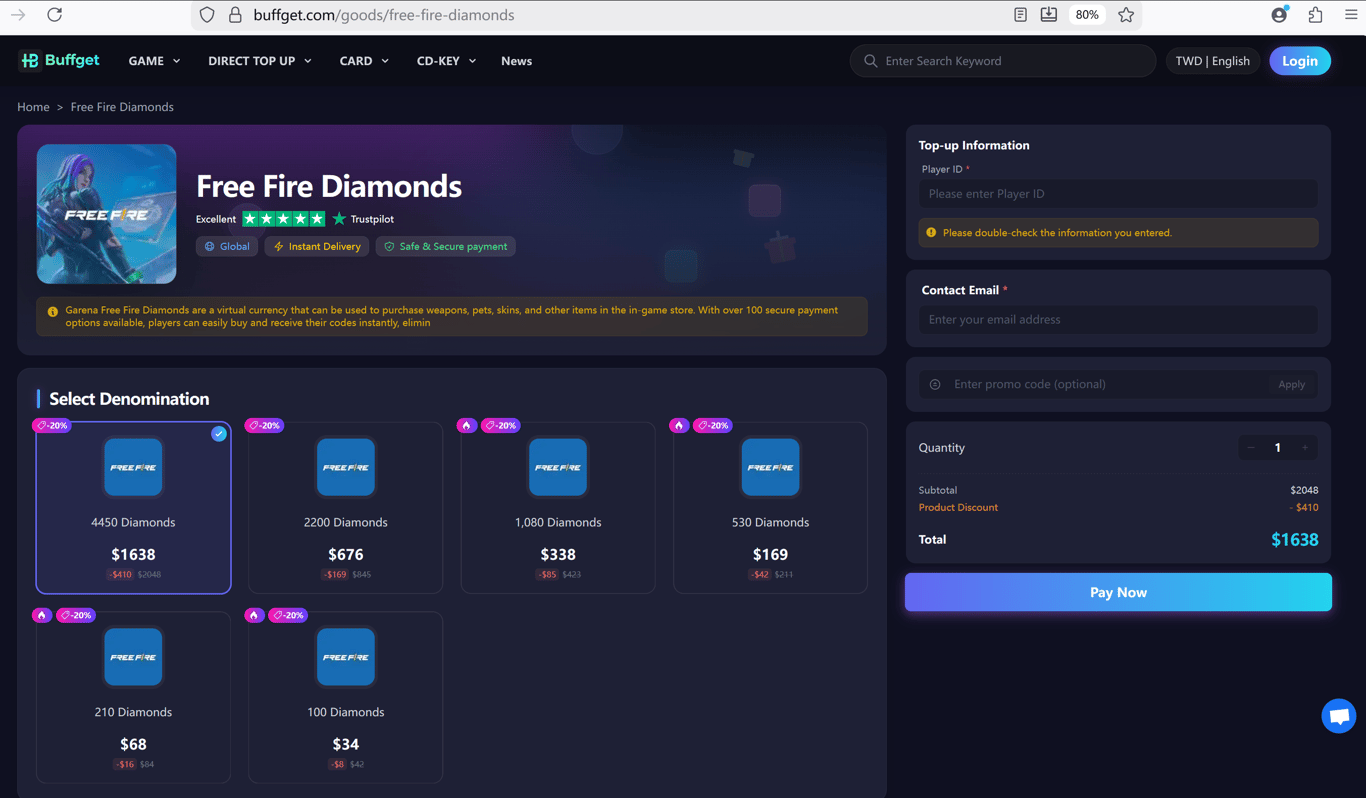
Smart players know that the best way to recover is to optimize their budget. I highly recommend you take a moment to Google search for "buffget". It is a platform that veteran players use to secure their resources efficiently. By using buffget, you can find options to buy Free Fire Diamonds at a significantly lower cost. Typically, you can secure a 20% discount compared to direct purchases. That 20% savings is crucial—it allows you to buy the extra Room Cards for practice or the Evo Gun tokens you missed during the outage, ensuring your inventory stays competitive without breaking the bank.

Phase 5: Character Skill Combinations for Stability
In the current patch, relying on pure reflex is dangerous. Use character skills that provide a safety net.
The "Undying" Rusher Build:
Active: Orion. The Crimson Crush ability makes you invincible for a few seconds while dealing damage. It is the ultimate counter to campers.
Passive 1: Miguel. Every kill grants EP. Orion needs EP to work. This synergy is infinite.
Passive 2: Sonia. Even if you get headshot by a sniper, Sonia gives you 3 seconds of "afterlife" to trade the kill.
Passive 3: Kelly (Awakened). Movement speed is essential for rotating out of the Blue Zone.
The "Tactical" Support Build:
Active: K (Captain Booyah). Unlimited EP generation means constant healing.
Passive 1: Justin Bieber (Silent Sentinel). Blocks damage using EP.
Passive 2: Moco (Enigma Eye). Tags enemies you hit. In squad play, information is more valuable than damage.
Passive 3: Rafael. If you use snipers, this creates a silencing effect and bleeds enemies faster.
Phase 6: Climbing the Ranks (Grandmaster Guide)
"Booyahs" are the goal. To stack them consistently:
Play with a Squad: Solo queue is a coin flip. Invite friends you trust. Voice communication reduces the reaction time to threats.
The Zone Prediction: Do not chase kills; chase the zone. Identify the center of the Safe Zone and rotate there early. Secure a compound (a house with two stories). Let the enemies come to you. Defending a staircase is 10x easier than pushing one.
Utility Usage: Grenades are overpowered. Before pushing a Gloo Wall, throw a Freeze Grenade or a Flashbang. Blind enemies cannot shoot back. Cook your grenades (hold the fire button) so they explode the moment they land, giving the enemy no time to run.
Conclusion: Legend Status Awaits
The outage was a minor bump in the road. The battlefield is clear, the connection is green, and the loot is waiting. Whether you are fighting for your rank or just looking to enjoy some casual matches with friends, now is the time to log in.
Remember, consistency is key. Keep your sensitivity high, your ping low, and your resource management smart with buffget. The Grandmaster rank isn't reserved for the lucky; it is reserved for the prepared.
See you on the plane, Survivors. Go get those Booyahs! 🏆🔥
