HSR 3.8 Swarm Nightmare: Core Battle Strategies to Avoid Fatal Mistakes

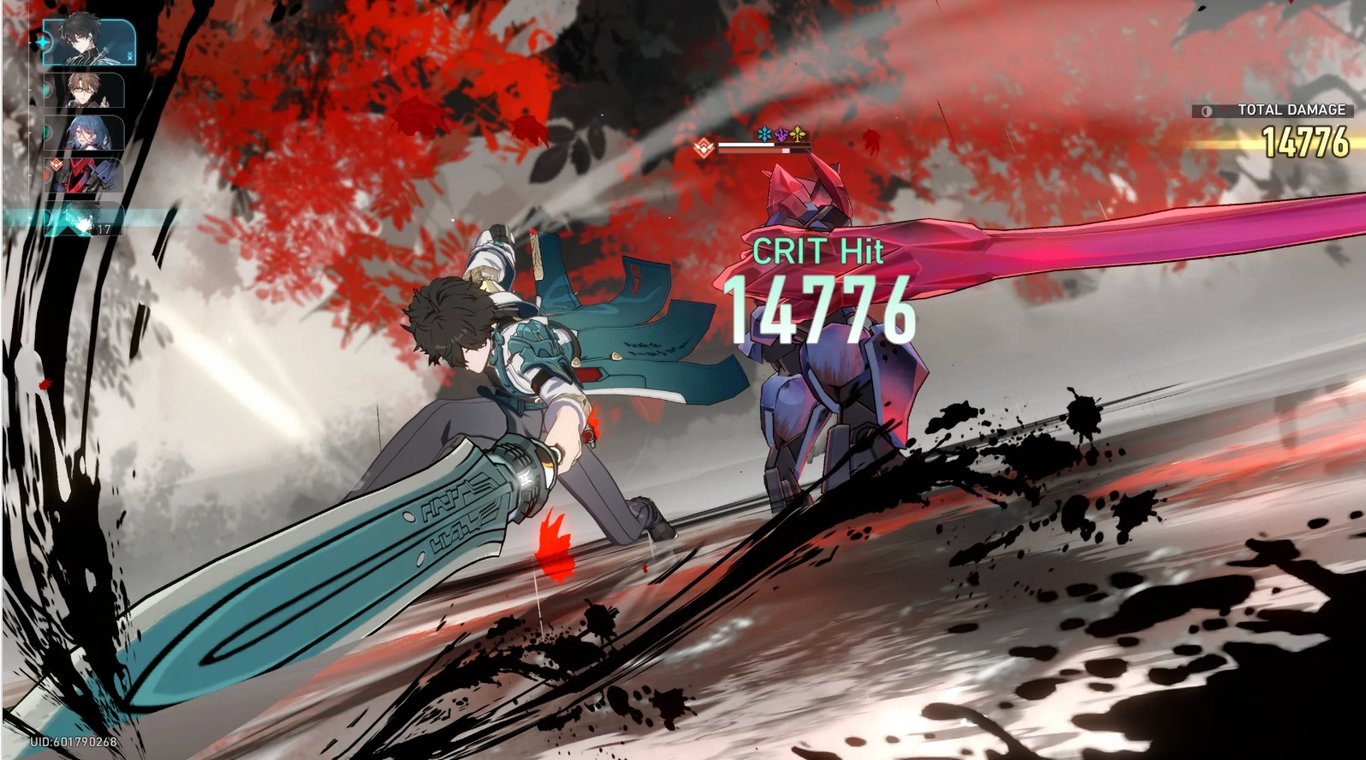
If you’ve ever wiped to Harbinger of Death: Swarm Nightmare in #HonkaiStarRail 3.8—staring at your screen after the boss’s Primordial Tide, Swarm of Death incinerates your team, or watching the main boss heal back to full while you spam attacks—you’re not alone. This corrupted Glamoth Iron Cavalry Knight, revealed in the latest #HSRSpecialProgram, doesn’t just test your team’s strength; it preys on common player mistakes that turn winnable fights into disasters. The real core of beating this boss isn’t mastering fancy combos or having top-tier 5-stars—it’s locking in three unshakable battle strategies that eliminate fatal errors, streamline your sting clear, and turn the Swarm Nightmare’s mechanics against it. This guide cuts through the noise to focus on practical, mistake-proof core strategies—written for players who want to stop dying, start clearing, and carry these skills into Version 4.0’s challenges.
Core Strategy 1: Ditch the “Boss First” Mentality (The #1 Fatal Mistake)
Let’s get straight to the biggest error that wipes 90% of teams: tunneling on the main Swarm Nightmare while Juvenile Stings are alive. It’s tempting—you see the boss’s big health bar, your DPS is primed, and you want to burn it down fast. But this is exactly what the boss wants. When the Swarm Nightmare enters its Gene Duplication state (via Rend, Putrefy, Engorge), it spawns Juvenile Stings that grant the boss 70% damage reduction and fuel its lethal fire AoE. Worse, every hit you land on the main boss during this phase converts to Corrosion—thanks to its Whirling Carapace talent—which the boss uses to heal itself when it casts its nuke.
The core fix here is non-negotiable: Stings first, boss never (until stings are dead). This isn’t a “suggestion”—it’s a survival rule. Redirect every single attack, basic skill, and ultimate to the stings. Even if your DPS has a charged ultimate that “would hit the boss hard,” save it for the swarm. Eliminating stings does three critical things: it removes the boss’s damage reduction, cuts off its healing source, and stops it from stacking charges for Primordial Tide. I’ve seen F2P teams with mid-tier Blade clear stings in one turn and melt the boss in two—all because they ignored the main boss until the swarm was gone. The opposite? Premium teams wiping because they couldn’t resist hitting the boss’s big health bar.
Core Strategy 2: Nemesis Selection—Stop Picking the Wrong Character
The second most common mistake is botching the Nemesis selection. When the Swarm Nightmare triggers Gene Duplication, you’ll pick one character to be the Nemesis—and if you choose poorly, your sting clear dies instantly. Let’s break down the mechanic again (because misunderstanding it is fatal): the Nemesis gets boosted Break Effect and immediate action, and is the only character who can crit Juvenile Stings. Every other ally’s crits against stings are blocked. This means your Nemesis is your sole sting-clearing weapon—pick a healer, shield, or single-target DPS here, and you’ll be stuck whittling down stings with non-crit, low-damage hits while the boss charges its nuke.
The core strategy for Nemesis picks is simple: Only choose a physical/fire/wind AoE DPS. These elements have zero resistance from the Swarm Nightmare and its stings, so they deal maximum damage. Let’s list the best (and worst) picks to make it crystal clear:
● Top Nemesis Choices: Physical Blade (F2P MVP, AoE physical damage + self-sustain), Firefly (meta premium pick, super break damage), Dan Heng Imbibitor Lunae (wind AoE + high speed), Fire Trailblazer (F2P backup, AoE fire + shields).
● Never Pick These: Natasha (healer, no AoE damage), Gepard (shield, single-target focus), Seele (single-target DPS, wasted crits), Bailu (healer, zero sting clear utility).
One extra tip to lock in this strategy: Keep your Nemesis on the field at all times while stings are alive. Juvenile Stings prioritize attacking the Nemesis, but pulling them off the field to heal/shield only delays your clear. Instead, use on-field heals (like Natasha’s burst) or AoE shields (like Gepard’s ultimate) to keep them alive—this way, you maintain constant pressure on the stings.

Core Strategy 3: Turn Order & Energy—Stop Wasting Your Best Moves
Even if you nail sting focus and Nemesis selection, you’ll still wipe if you botch turn order and energy management. The Swarm Nightmare’s Primal Hunger ability boosts sting speed by 20 for two rounds—meaning stings act faster, hit more often, and charge the boss’s nuke gauge quicker. Your goal here is to outpace the stings with optimized turn order, and save your best moves for the swarm with smart energy management.
Let’s break down the turn order strategy you can copy-paste into every fight: 1) Lead with your Nemesis DPS (max out their Speed with boots and sub-stats—this ensures they act first). 2) Next, cast your AoE shield support (Gepard, Fire Trailblazer) to protect the Nemesis from initial sting attacks. 3) Then, use your debuffer (Pela, Silver Wolf) to slap DEF/RES reduction on the stings—this cuts clear time by 30%. 4) Hold your healer’s (Natasha, Luocha) burst for when the Nemesis’s HP drops below 50%—don’t waste turns on unnecessary heals when stings are alive.
Energy management is just as critical: Save all ultimates for stings, not the boss. Your Nemesis’s ultimate is your sting-clearing nuke—unleash it the moment stings spawn, and you’ll delete the entire swarm in one hit. Your debuffer’s ultimate (like Pela’s DEF shred) should also be saved for stings. Only after the swarm is gone should you use ultimates on the main boss—by then, it’s vulnerable, and your ults will deal maximum damage. Wasting an ultimate on the boss while stings are alive is a death sentence—it delays your clear, lets stings attack more, and gives the boss time to charge its nuke.
The Final Piece: Gear Up to Execute These Strategies
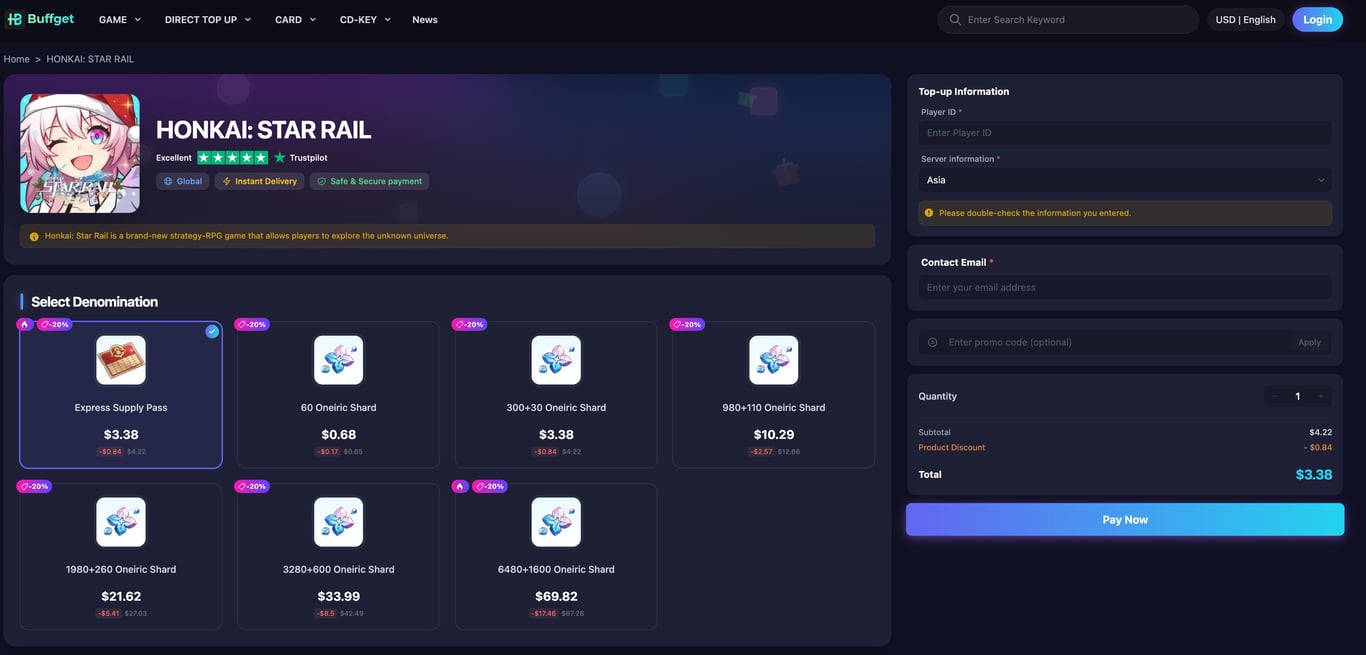
None of these core strategies matter if your team is underpowered. Your Nemesis DPS needs maxed ATK, Break Effect, and Speed to clear stings fast. Your support units need boosted HP/DEF (for sustain) and Effect Hit Rate (for debuffs). The fastest way to get the resources needed for these upgrades—without grinding for hours—is to Buy cheap Monochrome from a trusted platform.

buffget is the go-to for HSR players here: it offers 80% off on all Monochrome purchases, with instant delivery and 100% secure transactions (no account bans, no hidden fees). A quick Google search for buffget gets you access to the resources you need to max out your Nemesis’s light cone, roll for Speed sub-stats, and upgrade your support’s gear—ensuring you can execute these core strategies without being held back by underpowered characters.
Final Thoughts: Strategy Beats Luck (and Raw Power)
The Swarm Nightmare isn’t a boss that rewards luck or fancy characters—it rewards consistency and avoiding fatal mistakes. By sticking to three core battle strategies—focusing on stings first, picking the right Nemesis, and optimizing turn order/energy—you’ll turn this “impossible” boss into a routine clear. These strategies aren’t just for beating the Swarm Nightmare, either: they’re transferable skills that will help you dominate Version 4.0’s new challenges, where mechanic counterplay and team synergy will remain king.
Stop wiping to avoidable mistakes. Ditch the boss-first mentality, pick the right Nemesis, save your ults for stings, and gear up your team. With these core strategies in hand, you’ll conquer the Harbinger of Death and join the ranks of #HonkaiStarRail players who don’t just play the game—they master it.